Over the past decade, Iceland has exploded onto the social media scene, captivating photographers from around the world. Its otherworldly landscapes, paired with the dramatic contrast of endless daylight in summer and complete darkness in winter, make it a dream destination for creatives seeking the extraordinary and unusual.
Years ago, I first discovered Iceland through photography vlogs on YouTube, and from the moment I saw its rugged coastlines, dramatic waterfalls, and towering igneous mountains, I was completely mesmerized. I knew then that I had to see it for myself one day. Fast forward seven or eight years, and there I was, finally flying over the land I had dreamed about for so long. Below me, volcanic vents sent plumes of steam into the sky, while mountains emerged and vanished beneath a rolling blanket of low clouds. It was already breathtaking, and my excitement levels were through the roof.
The adventure ahead would take me along Iceland’s famed Ring Road, tracing the country’s stunning south coast. But first, I had my sights set on a legendary northern landscape, one that had been at the top of my bucket list since those early days of watching YouTube.
On the way, though, I couldn’t resist a detour to an incredible series of waterfalls, where vibrant blue water cascaded seemingly out of nowhere. The falls burst forth from the lush vegetation above, with no visible river or source feeding them, a magical sight that set the tone for the journey ahead.

Hraunfossar, walls of cascades
After a long day of travelling and a quick stop in Grundarfjodur, with the sun lingering in the sky until nearly midnight, my final destination of the day came into view. You’ve likely seen it in movies, TV shows, or all over social media, but nothing compares to witnessing the iconic, arrow-shaped peak of Kirkjufell in person.
Framed by a cascading waterfall, with the mountain and clouds glowing in the fading evening light, the scene was pure magic. Of course, I wasn’t alone, about 30 other photographers had also gathered, each vying for the perfect shot of this world famous landmark. While I usually strive to capture new or unique perspectives of well-known locations, sometimes the classics are warranted.

Grundarfjodur Harbour beneath an epic mountain and Kirkjufell during the midnight sunset
With the unforgettable stop at Kirkjufell behind me, it was time to make my way back toward the South Coast’s iconic Ring Road. But in Iceland, the journey is just as captivating as the destination as the landscape is overflowing with breathtaking cascades at every turn.

Stunning waterfalls everywhere you look
It turned out to be an entire day dedicated to waterfalls—this region of Iceland is home to some of the country’s most famous and awe-inspiring falls. In fact, many were so popular and easily accessible that finding a parking spot was a challenge.
One of the most breathtaking stops was Gullfoss, where an immense volume of water thundered down multiple tiers, creating enormous spray that filled the air and created difficult conditions to shoot in. Another unforgettable experience was walking behind the towering Seljalandsfoss, feeling the sheer power of the water crashing down just metres away.
But my personal favorite had to be Bruarfoss, a hidden gem unlike any other. Its countless small cascades merged into a surreal, glacial blue stream that looked almost too vibrant to be real. It was pure magic with a glorious sunset lighting up the landscape as well.

Some of the more famous waterfalls of the journey, Gullfoss, Bruarfoss and Seljalandsfoss.
The next step along the way was the town of Vik which was a base for exploring dramatic black sand beaches, monumental sea stacks and checking out the local Puffin populations. Puffins are exceptionally cute birds and I can totally understand why they are so loved, watching them glide effortlessly over the dramatic cliffs and sea stacks, even in incredible winds, was amazing.

Puffins and Sea Stacks near Vik
The final stop on this incredible journey was the small town of Höfn, a gateway to some of Iceland’s most breathtaking landscapes. The route there was nothing short of spectacular, winding past towering mountains, countless waterfalls, and the iconic Jökulsárlón glacier lagoon.
One morning was dedicated to a grueling uphill hike, but the reward was well worth the effort. At the summit, a stunning waterfall cascaded through striking basalt columns, while the view back over the vast volcanic plains below was simply unforgettable.

The different views of Svartifoss
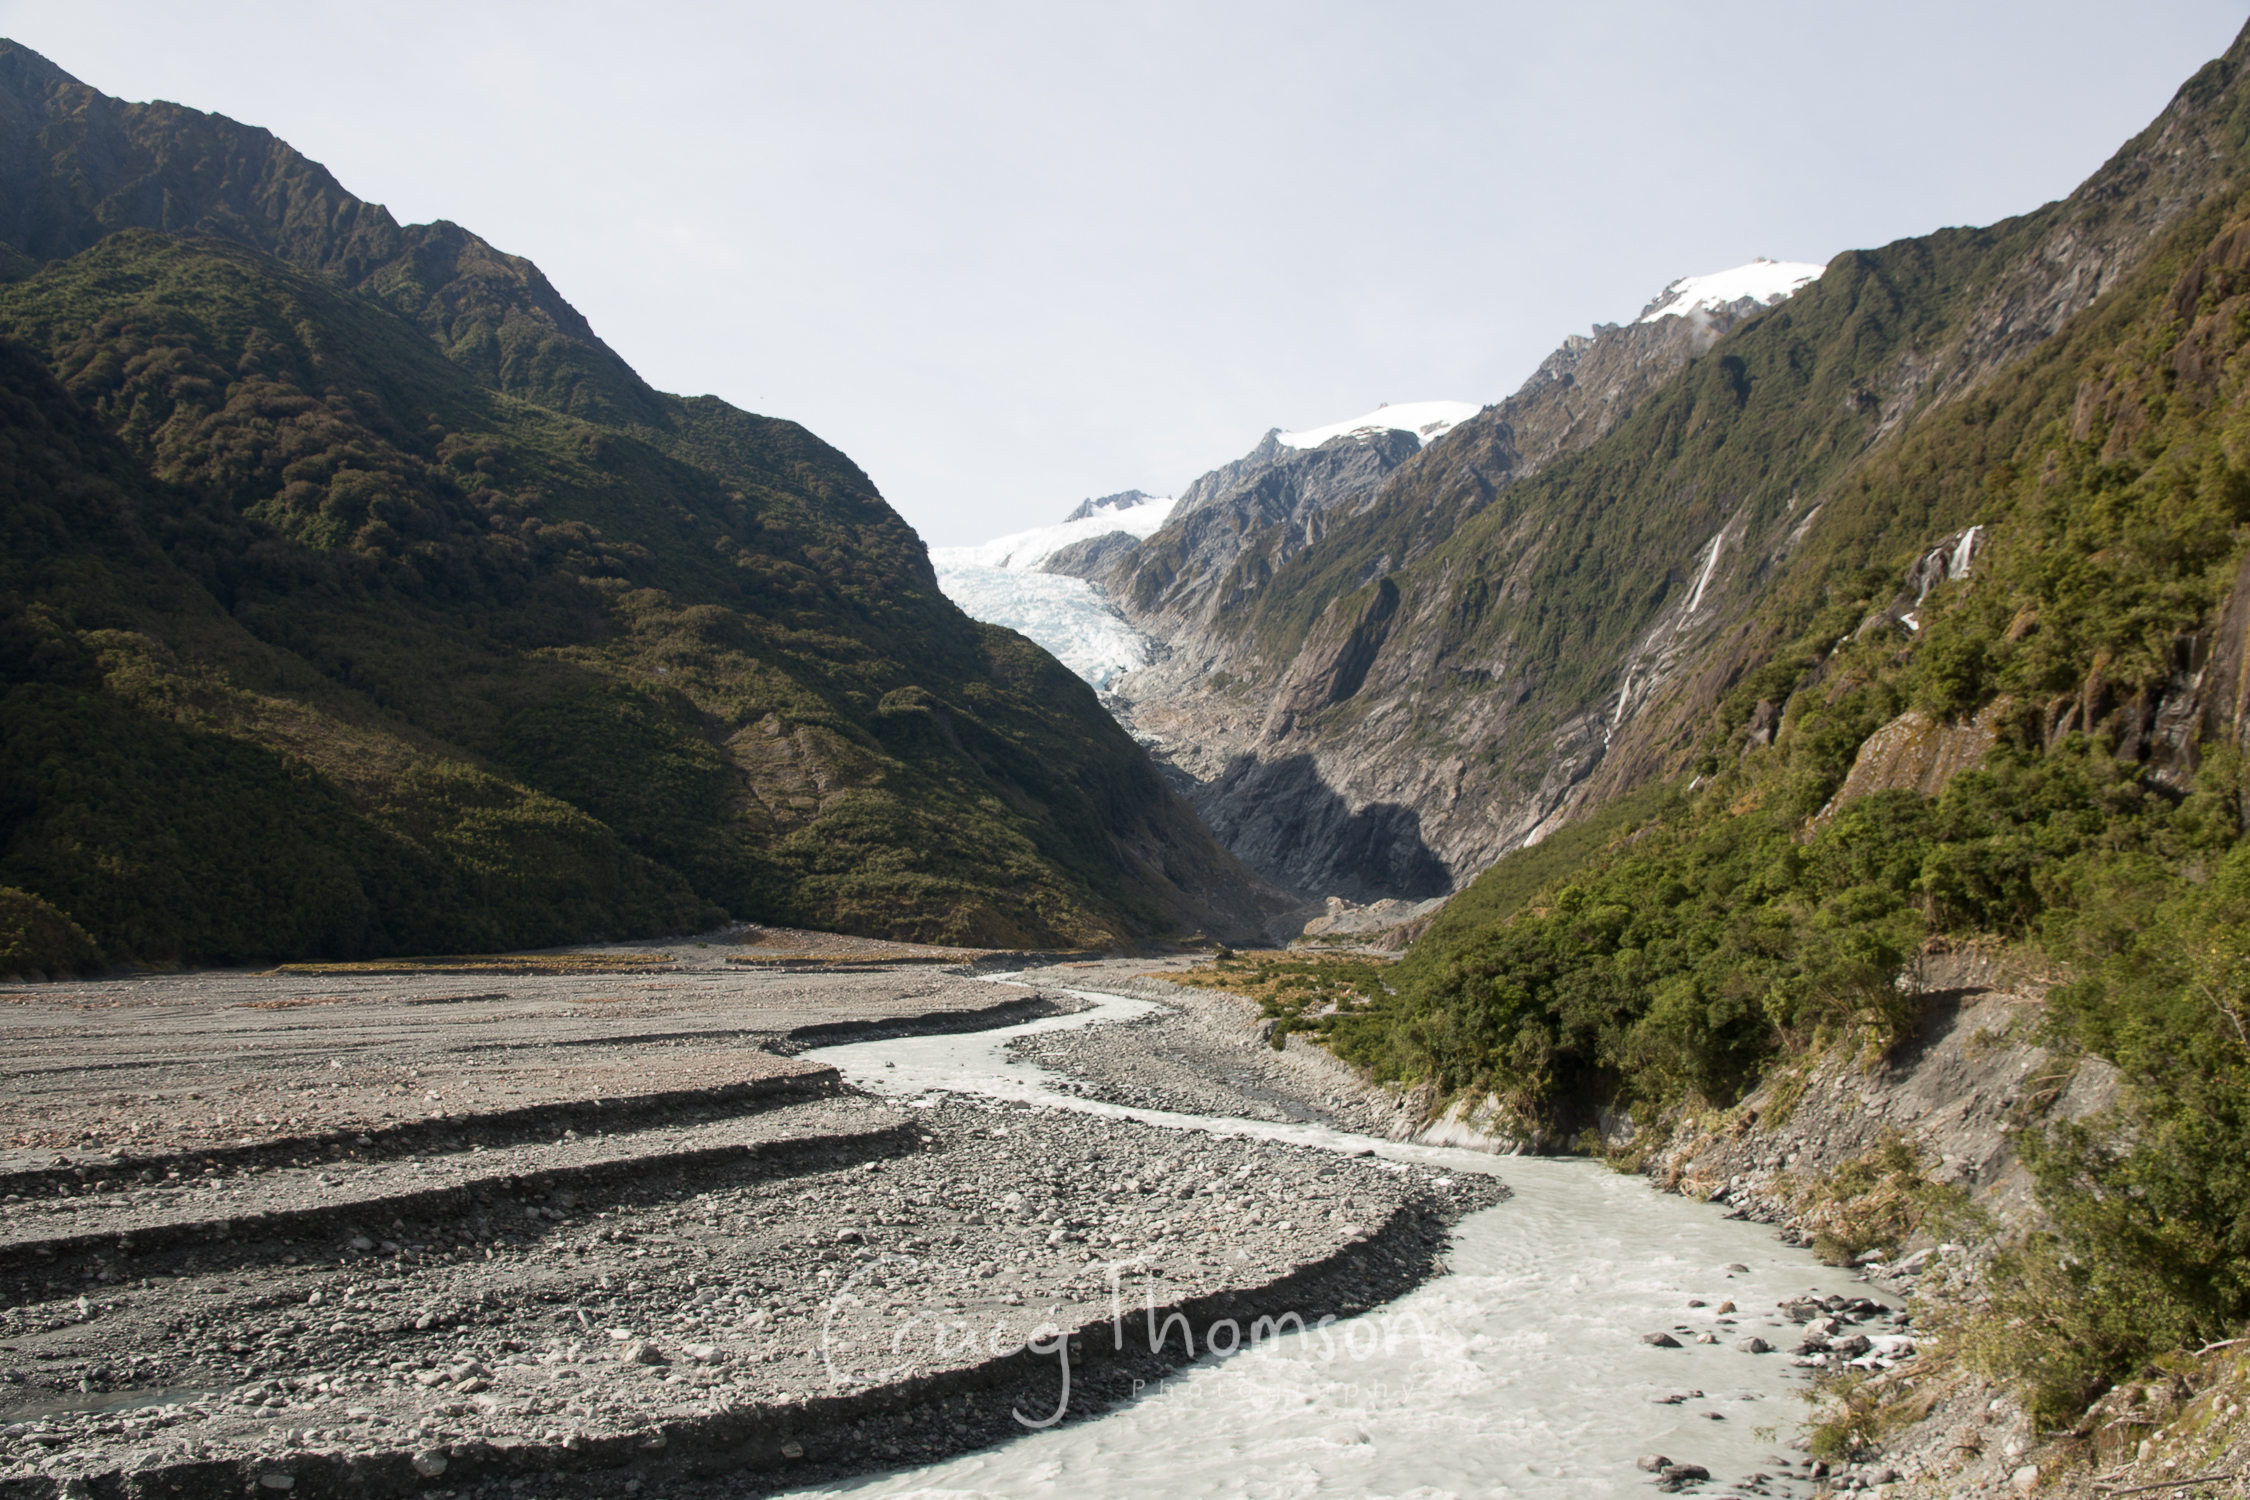
Another afternoon led to the foot of a massive glacier, surrounded by rugged peaks and shimmering ice. The sheer scale and beauty of the frozen landscape was humbling.

Svínafellsjökull, try saying that five times fast
But the true highlight of the area was an entire day spent exploring Jökulsárlón. From venturing into a mesmerizing ice cave to witnessing the ever changing glacier lagoon, the experience was nothing short of magical. It all culminated with a visit to Diamond Beach, where countless icebergs, having broken free from the glacier, drift out to sea only to be carried back and scattered like glittering gems across the jet-black sand of the beach. It was the perfect way to close out the day.

Jökulsárlón and one of the nearby mountains
One evening, I watched the sun set over Stokksnes, a breathtaking fusion of sea, sand, and towering mountains. The golden light danced across the black dunes, creating an otherworldly landscape. As one of Iceland’s most iconic locations, I wasn’t alone, other photographers dotted the landscape, each capturing their own version of this spectacular evening. The magic of the place was undeniable, a perfect farewell to an unforgettable journey before making the long trip back along the coast to the airport.

Stokksnes and the Vestrahorn Mountains.
My first journey to Iceland was nothing short of extraordinary, an adventure years in the making, it exceeded every one of my long held expectations. From its otherworldly landscapes to its raw, untamed beauty, every moment felt like a dream come to life. Yet, despite all I had seen, I knew there was still so much more to discover. So, Iceland, this is not goodbye, I will be back!
These are just a few of the images I have taken on my journey across Iceland, if you would like to see more, check out the full gallery below!